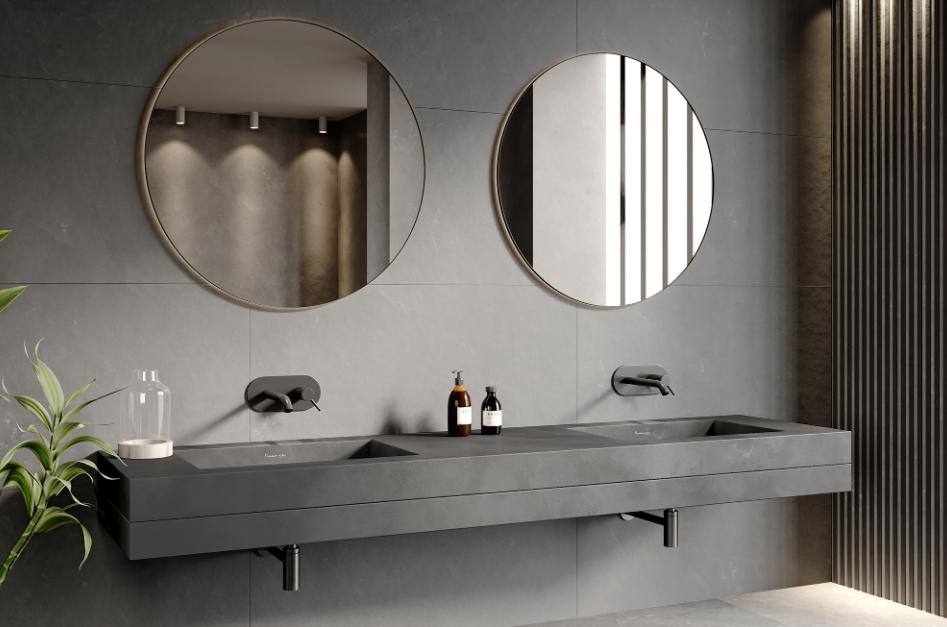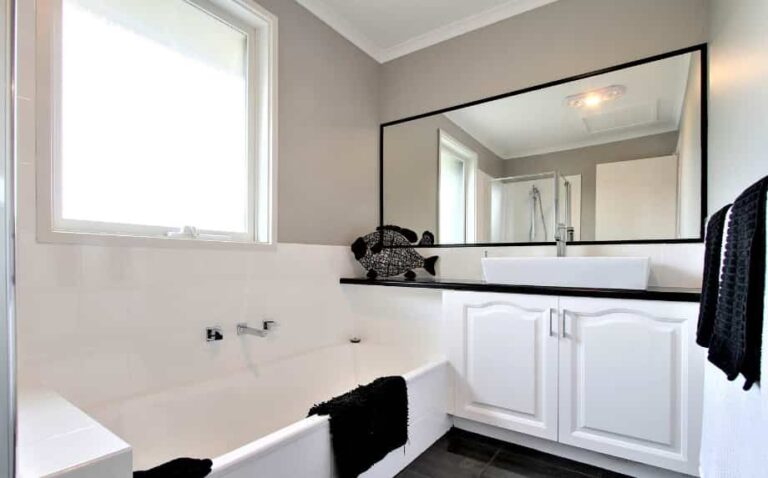
Concrete basins are a popular choice for homeowners looking for stylish and durable bathroom solutions. When considering concrete basins on the Gold Coast, it’s essential to understand the installation process to ensure a smooth, hassle-free setup. With the right preparation and knowledge, you can create a stunning focal point in your bathroom that blends functionality and aesthetics seamlessly.
Choosing the Right Concrete Basin
Before beginning the installation, selecting the right concrete basin is crucial. Concrete basins come in a variety of shapes, sizes, and finishes, so it’s important to choose one that suits your space and design preferences. Whether you’re after a minimalist rectangular design or a more organic, rounded shape, there’s a basin to fit your style. The basin should also match the overall decor of your bathroom, complementing other bathroom products on the Gold Coast, such as taps, mirrors, and storage solutions.
Prepare the Installation Area
The first step in the installation process is preparing the area where the basin will be placed. Concrete basins are heavy, so ensure the countertop or pedestal is sturdy enough to support the weight. If you’re installing the basin onto a vanity unit, make sure the unit is secure and level. Clean the surface thoroughly to remove any dust, dirt, or grease, which could affect the adhesion or installation of your basin.
Check Plumbing Requirements
Before securing your concrete basin, check the plumbing connections. Concrete basins usually require standard plumbing fittings, but it’s essential to ensure that the drain hole and tap holes align with your existing plumbing setup. If the basin doesn’t have pre-drilled tap holes, you’ll need to measure carefully to make sure your taps are positioned correctly.
Install the Basin
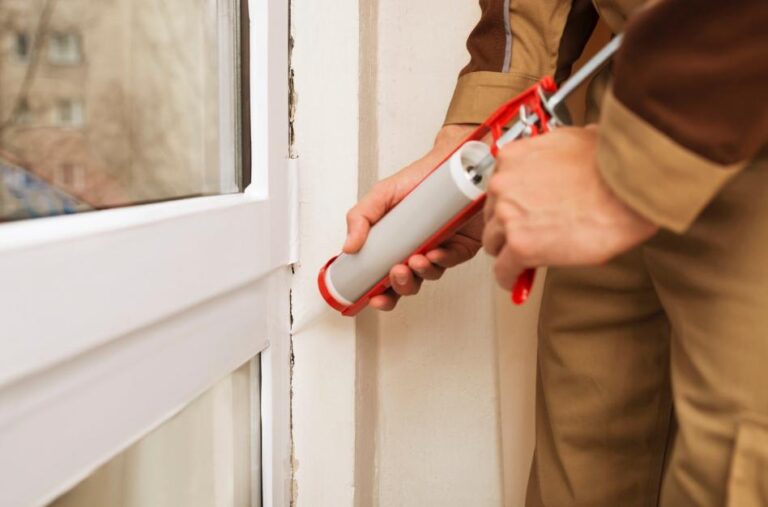
The next step is to carefully install the basin onto the prepared surface. If you are installing a countertop basin, use a strong adhesive to secure it in place. For under-mount basins, you will need to ensure that the basin is properly supported underneath before fixing it to the countertop. It’s advisable to use a silicone sealant around the edges to prevent water from seeping underneath.
Connect Plumbing and Test
Once the basin is securely in place, connect the plumbing. Attach the waste pipe, ensuring there are no leaks. After the connections are made, turn on the water supply and test the basin for any issues with drainage or water flow. Check for any signs of leaks or irregularities in the installation.
Conclusion
Installing concrete basins on the Gold Coast can be a rewarding project, enhancing the look and feel of your bathroom. With proper preparation, careful installation, and attention to detail, you can enjoy a stylish, durable basin that lasts for years. Whether upgrading your existing bathroom or designing a new space, concrete basins provide a contemporary and practical solution that is sure to impress.


